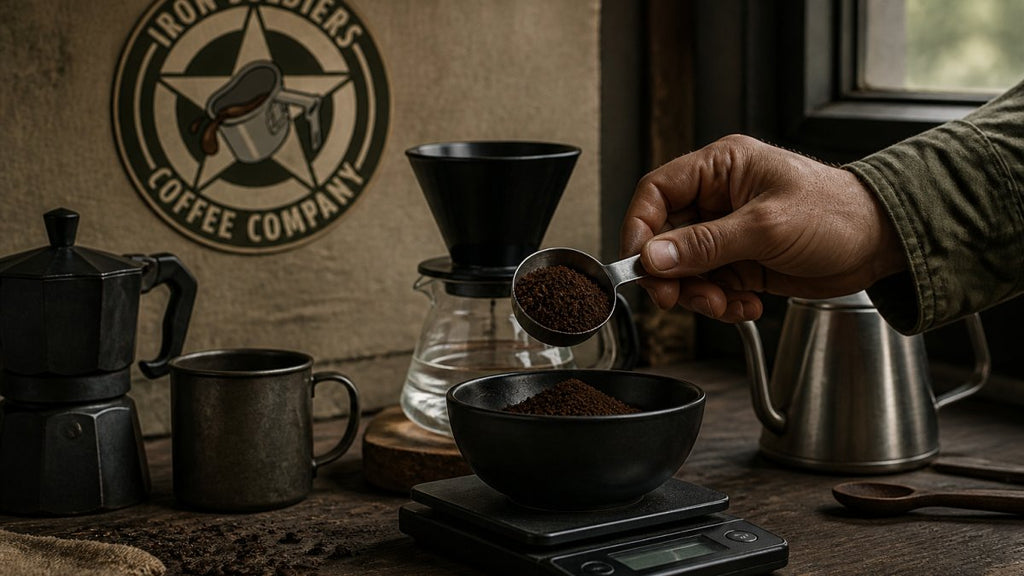
How Do You Measure Coffee Grounds Accurately?
Last Updated: October 25, 2026
Quick Summary
To measure coffee grounds accurately, use a digital scale and weigh them by weight rather than volume, starting with a 1:16 coffee-to-water ratio by weight. Weigh whole beans first, grind, then re-weigh the grounds and log your dose, water weight, grind setting and brew time so every batch can be repeated.
- A standard cup calls for roughly 10 to 12 grams of ground coffee per 6 fluid ounces of water.
- A level tablespoon of ground coffee weighs roughly 5 grams, and a standard coffee scoop holds about 10 grams.
- For a full 12-cup brewer, start with about 60 fluid ounces of water and 75 to 90 grams of ground coffee.
- A scoop of fine grounds weighs more than a scoop of coarse grounds, so volume measures drift with grind and density.
- When the cup tastes off, change one variable at a time: add coffee or grind finer for sour, cut the dose or grind coarser for bitter.
Table of Contents
- Why Accurate Coffee Measurement Is Your First Line of Defense
- The Coffee-to-Water Ratio: Your Mission-Critical Starting Point
- How Many Grams of Coffee Per Cup: The Numbers That Matter
- How to Use a Coffee Scale: A Step-by-Step Field Guide
- Coffee Measurements for a 12-Cup Coffee Maker
- Scoops, Tablespoons, and Grams: Converting Without Guesswork
- How Grind Size and Coffee Density Throw Off Your Measurements
- Troubleshooting Taste: Calibrating Your Brew Like a Range Officer
- Frequently Asked Questions
Why Accurate Coffee Measurement Is Your First Line of Defense
A good cup of coffee starts long before the water hits the grounds. It starts with knowing how to measure coffee grounds accurately. Get that step wrong, and even the best beans in your kit will let you down.
Accurate coffee measurement is the practice of using a consistent weight or volume of ground coffee per set amount of water, so every brew can be repeated. Precision here does more for flavor than any gadget you can buy.
Most weak or bitter coffee comes down to one of two failures:
- Too little ground coffee, which leaves a thin, sour cup
- Too much ground coffee, which turns the brew harsh and muddy
Fresh grounds also lose their edge when exposed to air. Our guide to choosing the right coffee container for field operations covers how to keep your supply protected between brews. If you want to lock in freshness right away, the A210 Airscape Stainless Steel Medium Coffee Container pulls oxygen out of the canister so your measured grounds stay sharp.

The Coffee-to-Water Ratio: Your Mission-Critical Starting Point
The coffee-to-water ratio is the backbone of every repeatable brew. It states how much ground coffee you use for a given amount of water. Change the ratio, and you change the strength of the cup.
The most common starting point is 1 part coffee to 16 parts water by weight. That means about 1 gram of ground coffee for every 16 grams of water. Many home brewers find this lands in a balanced middle ground.
From there, adjust to taste:
- Milder cup: move toward 1:17 or 1:18
- Stronger cup: move toward 1:15 or 1:14
- Cold brew: a much tighter ratio is common, often near 1:8
Ratios beat guesswork because they scale. Once you know your ratio, you can brew any batch size without rethinking the math. The Specialty Coffee Association publishes widely used brewing standards that treat ratio as a core control. A ratio you can repeat is worth more than a recipe you cannot.
How Many Grams of Coffee Per Cup: The Numbers That Matter
A standard cup of coffee calls for roughly 10 to 12 grams of ground coffee per 6 fluid ounces of water. That is the number most recipes assume when they say "one cup."
Why 6 ounces? Because a "cup" on a coffee maker is not the same as a measuring cup. This single confusion trips up more brewers than any other.
What a Coffee Maker Means by a Cup
A coffee maker cup is usually 5 to 6 fluid ounces, not the 8 ounces in a standard kitchen measuring cup. A 12-cup brewer, then, often holds closer to 60 fluid ounces, not 96.
So when a recipe says "use one scoop per cup," check the machine first. If you brew a full 12-cup pot, you may need far less coffee than the markings suggest.
High-altitude brewing adds another wrinkle. If you brew in the field at elevation, standard gram measurements shift with the boil. Our high altitude coffee brewing tactical field guide covers those adjustments in detail.
How to Use a Coffee Scale: A Step-by-Step Field Guide
A digital scale is the most reliable tool for repeatable coffee. It measures by weight, which ignores how finely the grounds are packed. Here is the procedure we recommend, field-tested and built for consistency.
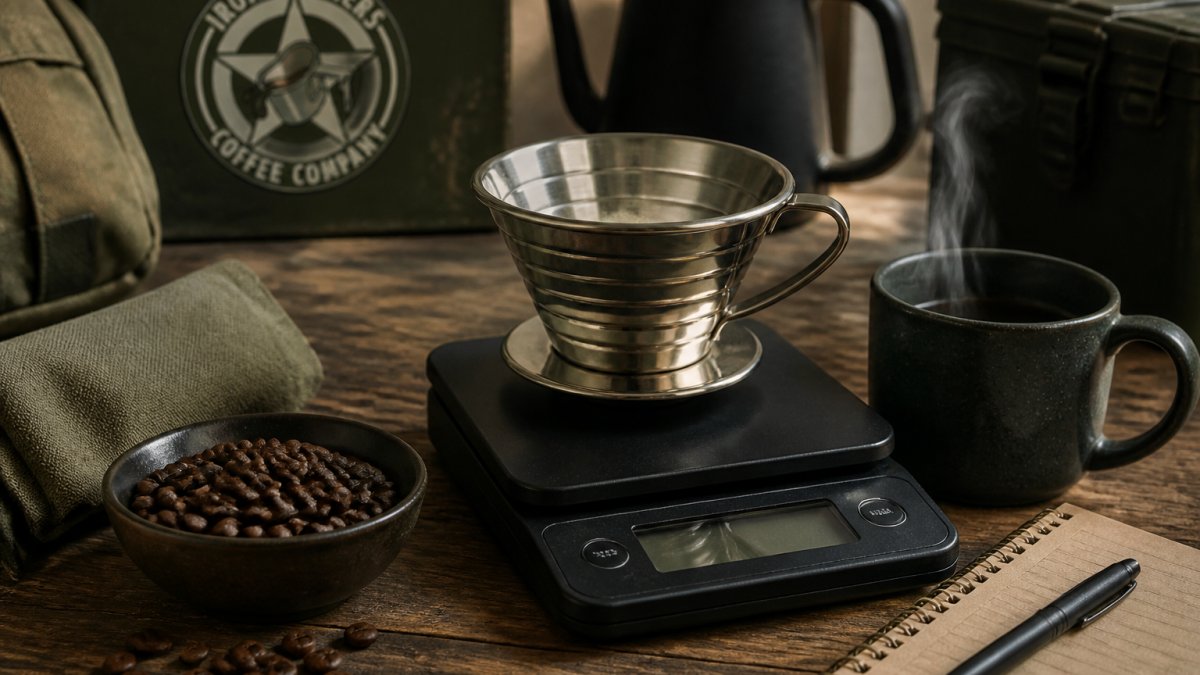
- Zero the scale with your vessel. Place your empty brew vessel, carafe, mug, or server, on the scale and press the tare button. The display should read 0.0. This step is non-negotiable; skipping it means you are weighing the vessel along with your coffee.
- Weigh whole beans first. Add whole beans until you hit your target dose. Weighing before grinding avoids losing residue in the grinder and gives you a true starting weight. For a 12-ounce cup at a 1:16 ratio, that is about 21 grams of beans.
- Grind, then re-weigh the grounds. Grinding can leave particles behind in the burr chamber or hopper. Pour the grounds into your vessel and check the weight. If you are off by more than a gram, adjust your next dose. A common pattern is to lose 0.5 to 1 gram per grind, small but cumulative over multiple brews.
- Weigh your water. Set the vessel with grounds on the scale, tare again, and pour water to your target weight. If your recipe calls for 340 grams of water (about 12 fluid ounces), watch the display as you pour. For pour-over, you can weigh the water as you brew; for drip, weigh the water in the reservoir or before adding to the machine.
- Log the result. Note the dose, water weight, grind setting, and brew time. A simple notebook or phone note works. This log becomes your baseline, change one variable at a time and taste the difference.
Pro Tip
If your scale has a 0.1-gram resolution, use it. A 1-gram resolution scale can drift by 2-3 grams over a session, which is enough to shift your ratio. Calibrate with a known weight (like a 100-gram calibration weight) every few weeks.
Expected result: you now have a repeatable recipe. The scale removes guesswork from every step, dose, grind retention, and water volume. Once you have a baseline, you can adjust with confidence.
Coffee Measurements for a 12-Cup Coffee Maker
For a full 12-cup brewer, start with about 60 fluid ounces of water and 75 to 90 grams of ground coffee. That range follows the 1:16 to 1:18 ratio and accounts for the smaller brewer cup.
A210 Airscape Stainless Steel Medium Coffee Container →
Work it in stages:
- Fill the reservoir to the 12-cup line
- Weigh your grounds to match the water you actually poured
- Brew, taste, then nudge the dose up or down next round
Do not trust the scoop that came in the box. Scoop sizes vary, and a rounded scoop holds far more than a level one. Weigh once and you remove that guesswork for good.
Scoops, Tablespoons, and Grams: Converting Without Guesswork
A level tablespoon of ground coffee weighs roughly 5 grams, and a standard coffee scoop holds about 2 tablespoons, or 10 grams. These are working averages, not fixed laws.
Use this quick reference:
| Measure | Approximate Ground Coffee | Notes |
|---|---|---|
| 1 level tablespoon | ~5 grams | Level, not rounded |
| 1 coffee scoop | ~10 grams | Usually 2 tablespoons |
| 1/8 cup | ~10 grams | About one scoop |
| 1/4 cup | ~20 grams | Two scoops |
| 1 ounce by weight | ~28 grams | Best measured on a scale |
Volume measures drift with grind and density. Treat the table as a starting point and confirm with a scale when precision matters.
How Grind Size and Coffee Density Throw Off Your Measurements
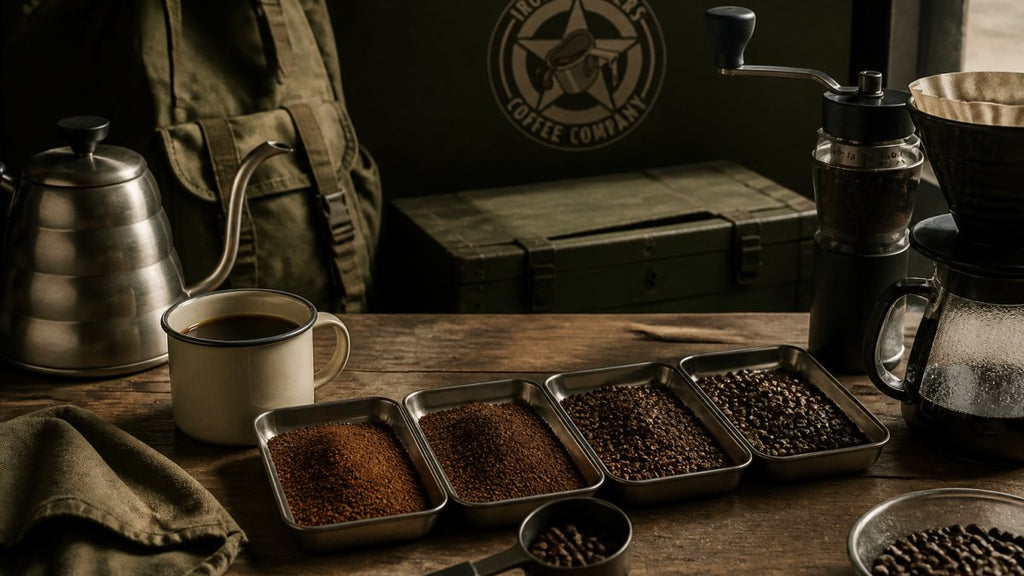
Here is the part most guides skip: a scoop of fine grounds weighs more than a scoop of coarse grounds. Finer grounds pack tighter, so the same volume holds more coffee. Coarse grounds leave bigger gaps and weigh less. That means a tablespoon is a moving target.
Density shifts with the bean, the roast, and how fresh the grounds are. A dark roast is more porous and weighs less per scoop than a light roast. A freshly ground batch settles differently than one that has been sitting.
This is why weight wins. A gram is a gram no matter how the grounds sit in the scoop. Our guide on how to adjust grind size for flavor walks through matching grind to your brew method.
Brew-Method-Specific Ratios
One ratio does not fit every brewer. Use these starting points by weight, then adjust to taste:
| Brew Method | Starting Ratio (Coffee:Water) | Grind | Notes |
|---|---|---|---|
| Drip | 1:16 to 1:17 | Medium | Standard starting point; adjust for basket size |
| Pour-over | 1:15 to 1:16 | Medium-fine | Slightly stronger to compensate for paper filter absorption |
| French press | 1:15 to 1:16 | Coarse | Full immersion; coarse grind prevents sludge |
| Cold brew | 1:8 (concentrate) | Coarse | Dilute to taste after steeping |
| Espresso | 1:2 (coffee:yield) | Fine | Dose and yield measured in grams; ratio is espresso-specific |
These are starting points, not laws. A pour-over with a thick paper filter may need a touch more coffee to compensate for retained water. A French press with a fine mesh may allow a slightly finer grind. The key is to weigh your dose and water, then adjust one variable at a time.
Watch Out
Do not assume your scoop is 10 grams. Scoop sizes vary by manufacturer, and a rounded scoop can hold 12-14 grams. Weigh your scoop once with your typical grind, then note the actual weight. That single measurement turns a vague scoop into a calibrated tool.
If you measure by volume, recalibrate whenever you change grind, roast, or bean. If you measure by weight, you can trust the number on the scale, and that is the foundation of a repeatable brew.
Troubleshooting Taste: Calibrating Your Brew Like a Range Officer
When the cup tastes off, adjust one variable at a time, the way a range officer corrects a sight picture. Small, measured changes beat wild swings.
- Sour or weak? Add coffee or grind finer.
- Bitter or harsh? Cut the dose or grind coarser.
- Inconsistent from pot to pot? Weigh every batch instead of scooping.
If measurement is dialed in and the cup still misses, water temperature is the next checkpoint. Our guide to calibrating coffee water temperature covers that step.
A common mistake is changing three things at once. Change one, taste, then decide. That is how you build a recipe you can trust.
Getting your measurements right is the first mission of every good brew, and it is one you can win with a scale and a steady hand. At Iron Soldiers Coffee Company, we roast fresh coffee for people who take their daily cup seriously, and every bag supports veterans and their families through a volunteer-only nonprofit.
Frequently Asked Questions
How many scoops of coffee grounds do I need for 10 cups of coffee?
Using a standard coffee scoop (about 2 tablespoons), plan on roughly 10 to 12 level scoops for 10 cups, assuming a 6-ounce coffee maker cup. That lands near 100 to 120 grams of ground coffee for about 60 ounces of water. Because scoop size and grind density vary, weigh the grounds on a digital scale when precision matters, then adjust to taste.
Is it more accurate to measure coffee by weight or by volume?
Weight wins every time. A digital scale measures the actual mass of coffee grounds, so a fine grind and a coarse grind of the same weight brew the same strength. Tablespoons and scoops measure volume, and the same scoop can hold different amounts depending on grind size and how packed the grounds are. For repeatable results, measure coffee grounds by weight in grams.
Does grind size affect how you measure coffee grounds?
Yes. A fine grind packs more coffee into the same tablespoon than a coarse grind, so a level scoop of espresso-fine coffee can weigh noticeably more than a scoop of French press coarse grounds. That is why volume measurements drift between brew methods. Weigh your grounds, or at least recalibrate your scoop whenever you switch grind size.
How many grams of coffee grounds should I use per cup of water?
A common starting point is about 10 grams of ground coffee per 6-ounce cup of water, which lines up with a coffee-to-water ratio near 1:17. If you prefer stronger coffee, move toward 12 grams per cup, or roughly 1:15. Weigh the grounds, brew, taste, and adjust the dose by a gram or two until the cup lands where you want it.

Related post
21
Oct