Gourmet BBQ sauces elevate your field kitchen by providing tactical flexibility across proteins and vegetables when paired correctly and applied at the right moment. Stock three core sauce types, a tangy mop for basting, a sweet glaze for finishing, and a bold original for versatility, to cover nearly every mission without overcomplicating logistics.
Every sauce balances four levers: sugar, smoke, acid, and heat; learn what each does and you can read any bottle before it touches the grate.
Sugar burns before meat is done, so apply sweet glazes only in the final 10 to 15 minutes over indirect heat using two thin coats.
Never dip a used brush back into the sauce bowl; use squeeze bottles or keep separate brushes for raw and cooked meat to prevent cross-contamination.
Ribs demand sweet and tangy balance, brisket pairs with smoky bold sauces, and vegetables need a lighter touch to avoid burning.
Transform store-bought sauce with measured additions of spices, acid, liquid smoke, or umami to customize any profile for your crew's preferences.
Elevating your field kitchen with gourmet BBQ sauces transforms a standard cookout into an operation worthy of command.
Assess your grill's mission. A small-unit operation with ribs and chicken needs a different loadout than a full-scale deployment with brisket, pulled pork, and vegetables.
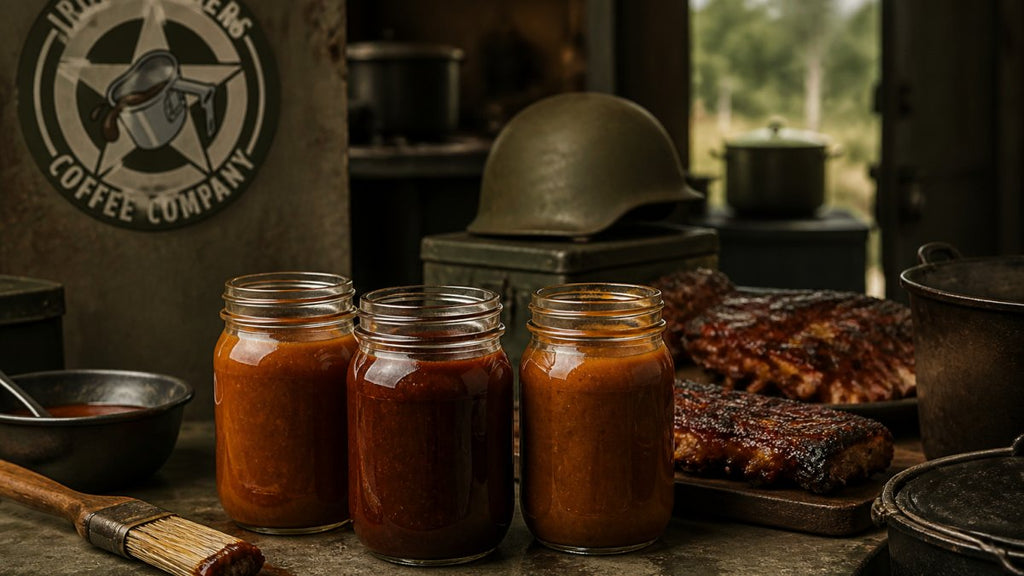
Consider your crew's preferences, some want heat, others sweet. Iron Soldiers BBQ Sauce 2-Pack delivers our Liberty Peach Glaze and Mess Hall Mop Sauce, a proven combination covering sweet and savory missions without overcomplicating logistics.
Iron Soldiers – Liberty Peach Glaze | Peach BBQ Sauce
Pro TipStock sauces in squeeze bottles for field deployment. They're easier to apply, harder to spill, and let you control portions with precision.
Understanding Flavor Profiles: Sweet, Smoky, Tangy, and Spicy
Every sauce on the line balances four levers: sugar, smoke, acid, and heat. Learn what each does under fire and you can read any bottle before it touches the grate.
Sweet (sugar, fruit, honey, molasses). Sugar is the glaze-builder, it browns and caramelizes for that lacquered sheen, but burns fast above medium heat.
Smoky (smoked paprika, chipotle, liquid smoke, char). Smoke is a seasoning, not a sauce, a little reads as depth, too much as ash.
Tangy (vinegar, citrus, mustard, tomato). Acid is the reset button, it cuts fat, wakes the palate, and keeps a long cookout from tasting flat.
Spicy (cayenne, chili, pepper). Heat is a force multiplier that can wreck the mission if misapplied.
The Field Kitchen Pairing Matrix
Use this as your default loadout. Adjust for crew preference, but start here.
Protein or Vegetable
Lead Profile
Supporting Profile
Application
Watch-Out
Beef brisket
Smoky
Tangy
Light mop in final hour
Sugar-heavy glazes char on long cooks
Pork ribs
Sweet
Tangy
Glaze final 15 minutes
Two thin coats beat one heavy coat
Pulled pork
Tangy
Sweet or spicy
Toss after pulling
Sauce early and it steams the bark
Chicken thighs
Sweet-fruity
Smoky
Glaze final 10 minutes
Skin burns before meat is done
Chicken breast
Tangy
Light sweet
Brush at the end
Lean meat dries under long heat
Burgers
Smoky
Spicy
Build at the table
Sauce on the patty steams the crust
Sausage
Tangy
Spicy
Serve on the side
Casing splits under thick glaze
Corn
Tangy
Light smoky
Brush after husking
Sweet glaze scorches fast
Peppers and onions
Tangy
Smoky
Toss at finish
Heavy sauce makes them soggy
Asparagus and green beans
Tangy
None
Light brush at end
Sweet sauces burn in seconds
Building a Balanced Sauce From a Base
Working from a plain base, store-bought sauce, canned tomato, or vinegar mop, tune it to any profile with measured additions. Work in small batches and taste between each step.
To push sweet: add brown sugar or fruit preserves one tablespoon at a time per cup of base.
To push smoky: add smoked paprika a quarter teaspoon at a time, or a drop or two of liquid smoke per cup. Liquid smoke is potent; overshoot and the batch is lost.
To push tangy: add apple cider vinegar or lemon juice one tablespoon per cup.
To push spicy: add cayenne or a minced chili a quarter teaspoon at a time, and remember heat builds as the sauce sits.
To add depth without changing the profile: a splash of Worcestershire or soy sauce rounds out flat sauces without announcing itself.
Key TakeawayA field kitchen that stocks one sweet-fruity sauce, one tangy mop, and one smoky or spicy finisher can cover nearly every protein and vegetable on the matrix. Three bottles, one doctrine.
BBQ Sauce Flavor Pairings With Meat and Vegetables
The right pairing magnifies both sauce and protein; mismatched combinations create confusion instead of harmony.
Brisket pairs best with smoky, bold sauces. Brisket is dense and muscular and needs a sauce with backbone.
Chicken thighs work with bright, fruity sauces. Thighs are juicier and more forgiving than lean breast.
Vegetables need a lighter touch. Corn, peppers, and asparagus burn easily, so brush lightly rather than dipping.
Protein
Best Sauce Type
Application Timing
Key Tactic
Ribs
Sweet-tangy blend
Final 15 minutes
Caramelize without burning
Brisket
Smoky, bold
Final hour
Mop frequently
Pulled pork
Any profile
As served
Offer choices
Chicken thighs
Fruity, bright
Final 10 minutes
Light application
Vegetables
Tangy, light
Final 5 minutes
Brush carefully
When to Apply BBQ Sauce to Meat During Cooking
Timing separates a glaze that shines from a crust that tastes like charcoal. The governing rule: sugar burns before meat is done.
The Four Application Methods
Marinade (before the fire). A thin, low-sugar sauce, vinegar, citrus, or a light mop, can go on raw meat hours ahead to season and tenderize.
Mop (during the cook). A mop is a thin, vinegar-forward sauce applied every 15 to 30 minutes mid-cook.
Glaze (final minutes). This is where sweet sauces earn their place. Apply in the last 10 to 15 minutes over medium or indirect heat.
Finish (at the table). Some crews sauce after the meat leaves the grill.
Timing by Protein
Brisket: mop lightly in the final hour; skip the sweet glaze entirely or apply only at the very end.
Ribs: glaze in the final 15 minutes over indirect heat; two thin coats.
Pulled pork: sauce after pulling, tossed in a bowl, so the bark stays intact.
Chicken: glaze in the final 10 minutes; skin burns before the meat is done, so keep the heat moderate.
Burgers and sausage: sauce at the table; glazing on the grate steams the crust.
Vegetables: brush lightly in the final 5 minutes; sweet sauces scorch in seconds.
The Sugar-Burn Mechanism
Sugar caramelizes at roughly 320°F to 350°F and turns bitter soon after. A grill at 400°F or more will char a sugary glaze in under a minute over direct heat. Hence the final-minutes rule: by glazing time the surface is set and the sauce only needs enough heat to set and shine. If you must glaze earlier, move the meat to indirect heat first.
Food Safety at the Sauce Station
Never dip a used brush back into the sauce bowl. Once a brush touches raw or partially cooked meat, it contaminates the whole batch. Use squeeze bottles, or keep two brushes, one for raw, one for cooked, and never mix them.
Keep mops and glazes out of the temperature danger zone. Bacteria multiply fastest between 40°F and 140°F. During long cooks, keep sauce bowls cool (set in ice) or hot, and discard anything that sat out for more than two hours.
Label and date opened sauces. Transfer opened bottles to airtight containers if you will not finish them within a week, and mark the opening date.
Wash tools immediately. Dried sauce on brushes and bowls harbors bacteria; hot soapy water right after the cook is the standard.
Never apply a thick, sugar-heavy glaze during the first half of cooking or over direct high heat. The sugars char before the sauce can adhere, and the bitter result compromises the entire meal. When in doubt, glaze late and glaze thin.
Not every field kitchen has time to craft sauce from scratch.
Add heat and depth with spices. A pinch of cayenne, smoked paprika, or black pepper elevates flat sauce.
Brighten with acid. A splash of apple cider vinegar or fresh lemon juice cuts heaviness, especially in thick, sweet sauces.
Introduce smoke flavor. Liquid smoke is a field kitchen shortcut, a few drops add complexity that suggests hours of smoking.
Thin with liquid if needed. Some sauces arrive too thick. Thin with apple juice, broth, or water.
Start with quality base sauce. Our Mess Hall Mop Sauce and Liberty Peach Glaze arrive battle-ready, but even premium sauces benefit from customization.
Iron Soldiers – Mess Hall Mop Sauce | Original BBQ Sauce
Assembling Your Outdoor Cooking Sauce Kit
A well-organized field kitchen sauce station runs like a precision operation, every tool in place, every sauce accessible. Chaos at the grill spreads quickly; organization prevents it.
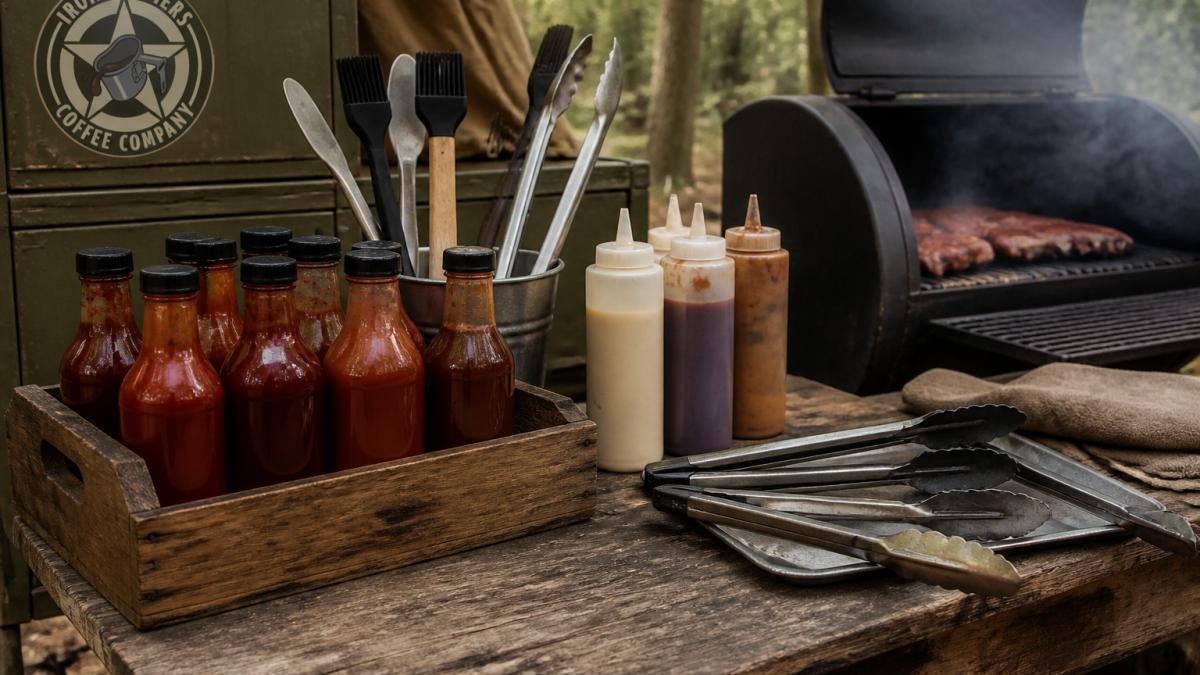
Infographic showing the essential tools and sauces for an outdoor grilling station setup
Essential tools for sauce deployment:
Silicone brushes (wider bristles for even coverage)
Squeeze bottles (for precise application and portion control)
Small bowls or ramekins (for dipping and tasting)
Tongs or long-handled spoons (for mop-style application)
Paper towels (for cleanup and brush wiping)
Thermometer (to verify meat doneness before final sauce application)
Sauce selection strategy:
Start with two to three sauces maximum. More creates confusion and waste. Our Iron Soldiers BBQ Sauce 2-Pack provides the foundation, Liberty Peach Glaze for sweet finishing, Mess Hall Mop Sauce for tangy versatility. Add a third sauce only if your crew demands a specific profile.
Iron Soldiers BBQ Sauce 2-Pack
Arrange sauces in order of application. Mop sauce comes first. Finishing glaze comes last. This visual order prevents mistakes and keeps the operation moving smoothly.
Keep all tools within arm's reach of the grill. Reaching across hot surfaces wastes time and creates safety risks. A small side table or cart positioned next to your cooking station eliminates unnecessary movement.
Crews grilling for 8-20 people benefit most from a dedicated sauce station. It prevents bottlenecks and lets multiple people work simultaneously without confusion.
Executing Mission Success: Storage and Food Safety
Unopened sauce storage: Keep sealed bottles in a cool, dark place.
Opened sauce handling: Once opened, sauce is exposed to air and bacteria.
Temperature control during service: Keep sauce cool while grilling.
Cross-contamination prevention: Never dip used brushes back into sauce bowls.
Timing discipline: Sauce applied to raw meat early in cooking gets heated thoroughly.
Many crews maintain a detailed checklist for their field kitchen operations.
When you're commanding a field kitchen, every detail matters.
Frequently Asked Questions
How can you make store-bought BBQ sauce taste more gourmet?
Elevate basic sauce by blending in complementary ingredients: bourbon for depth, fresh garlic and onion for complexity, or a touch of maple syrup for refined sweetness. Add smoked paprika or liquid smoke for tactical smokiness. Simmer your enhanced sauce for 10-15 minutes to let flavors meld. Small additions deliver outsized results, start with a tablespoon of new ingredients per cup of sauce and adjust to your taste. This approach transforms standard condiments into field-kitchen-caliber glazes worthy of any operation.
When should you apply BBQ sauce while grilling meat?
Timing determines whether sauce caramelizes or burns. For most meats, apply sauce during the final 10-15 minutes of cooking when internal temperature approaches target. For thinner cuts, wait until the last 5 minutes to prevent charring. Baste multiple times with a mop brush, allowing each layer to set before applying the next. This layering technique builds flavor depth. For finishing glazes, apply once meat reaches final temperature and let it set for 2-3 minutes off heat. Proper timing ensures the sauce bonds to meat rather than sliding off or turning bitter.
What BBQ sauce flavor pairings work best with different grilled proteins?
Match sauce profiles to meat characteristics: tangy, vinegar-forward sauces cut through fatty brisket and ribs; sweet peach-based glazes complement chicken and pork shoulder; spicy sauces balance mild turkey and fish. Beef brisket pairs with smoky, bold original-style sauces. Pulled pork accepts both sweet and tangy profiles. Chicken thrives with fruity, lighter glazes. Vegetables benefit from slightly sweeter sauces with savory backbone. Iron Soldiers' Liberty Peach Glaze excels on ribs and chicken, while the Mess Hall Mop Sauce handles brisket and pulled pork with authority. Experiment with layering two complementary sauces for tactical flavor advantage.
How do you build an effective outdoor cooking sauce kit?
Deploy a minimum of three sauces covering distinct flavor territories: one smoky-tangy base, one sweet-fruity option, and one with spicy backbone. Include application tools: silicone mop brushes, spray bottles for thin glazes, and heat-safe containers for holding sauce during service. The Iron Soldiers BBQ Sauce 2-Pack provides both sweet and savory foundation pieces at $13.99, covering dual mission requirements. Add squeeze bottles for precision application and a cooler with ice packs for temperature control. Keep backup bottles sealed and ready. A complete kit ensures you're never caught without the right flavor weapon for any protein or cookout scenario.